

Laravel Authentication, a powerful PHP framework, provides an elegant and simple authentication system out of the box. Whether you’re building a small web app or a large enterprise system, implementing robust and secure user authentication is crucial. In this article, we’ll walk you through the process of setting up authentication in Laravel and how to customize it for your needs.
Why Laravel Authentication?
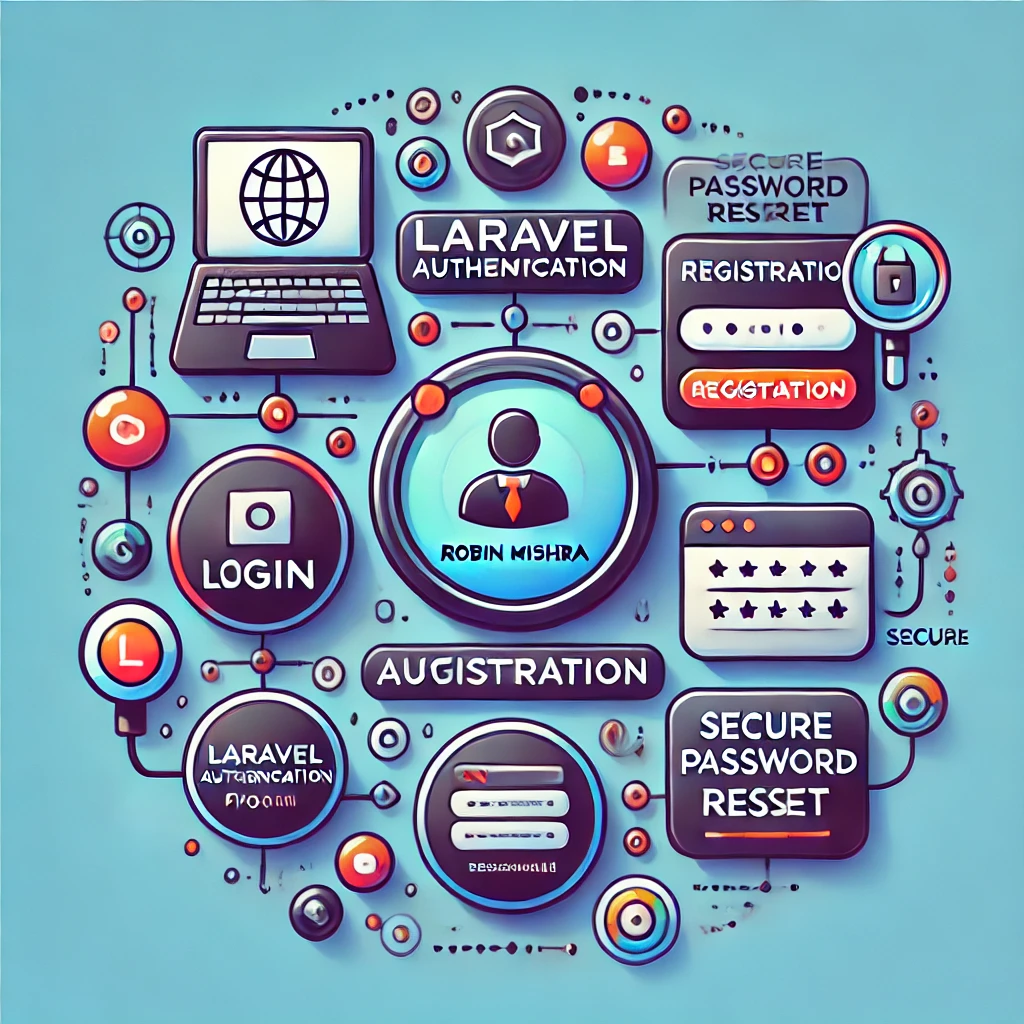
Laravel’s authentication system offers a wide range of features that make it easy to manage user login, registration, and password reset functionalities. Here are a few key features:
- Pre-built Routes and Views: Laravel includes routes for login, registration, and password resets out of the box.
- Security: The framework handles user data security through features like password hashing.
- Customization: Laravel’s system is highly customizable to fit your app’s unique requirements.
Setting Up Laravel Authentication
To get started, first, ensure you have Laravel installed. If you haven’t already installed Laravel, you can do so using the Composer command:
composer create-project --prefer-dist laravel/laravel authAppOnce installed, navigate to your project directory:
cd authAppNow, let’s use Laravel’s built-in authentication system. The simplest way to implement authentication is by using Laravel Breeze, a minimal, simple authentication system.
Step 1: Install Laravel Breeze
Run the following commands to install Laravel Breeze, which includes authentication routes, views, and controllers:
composer require laravel/breeze --dev
php artisan breeze:install
npm install && npm run dev
php artisan migrate
This will install Breeze, compile your assets, and run the migrations needed for authentication.
Step 2: Laravel Authentication Routes
Laravel Breeze automatically sets up the routes for login, registration, and password resets. You can find them in the routes/web.php file.
phpCopyEditRoute::get('/login', [AuthenticatedSessionController::class, 'create'])->name('login');
Route::post('/login', [AuthenticatedSessionController::class, 'store']);
Route::post('/logout', [AuthenticatedSessionController::class, 'destroy'])->name('logout');
Route::get('/register', [RegisteredUserController::class, 'create'])->name('register');
Route::post('/register', [RegisteredUserController::class, 'store']);
Step 3: User Registration and Login Views
Laravel also provides Blade templates for user registration and login. You can customize these views to match your website’s design by editing the files in the resources/views/auth directory.
Step 4: Laravel Authentication Controllers
Laravel’s Breeze package includes controllers to handle the authentication logic. These controllers are located in the app/Http/Controllers/Auth directory. You can modify these controllers to add custom authentication logic.
For example, if you wanted to add additional validation rules during registration, you could modify the RegisteredUserController.
Step 5: Protecting Routes with Middleware
Once authentication is set up, you may want to restrict access to certain routes for authenticated users only. You can easily protect routes using the auth middleware in your routes/web.php file:
Route::middleware(['auth'])->group(function () {
    Route::get('/dashboard', function () {
        return view('dashboard');
    });
});
This ensures that only authenticated users can access the /dashboard route.
Customizing Authentication
Laravel’s authentication system is highly customizable. You can adjust the behavior of the Laravel Authentication process based on your app’s requirements. For example, you might want to customize the login process or even change the way users authenticate by integrating OAuth or social media logins.
Conclusion
Implementing Laravel authentication is a breeze (pun intended) with the built-in features Laravel provides. You can have a secure and reliable user Laravel Authentication system up and running in minutes, leaving you with more time to focus on building the core features of your app. As you continue to develop your Laravel applications, be sure to explore more advanced authentication features like two-factor authentication (2FA) and API authentication.
By following these steps, you’ll be able to implement secure authentication for your Laravel applications with ease.


I am really inspired along with your writing abilities and also with the layout to your blog. Is this a paid topic or did you modify it your self? Anyway keep up the excellent high quality writing, it’s uncommon to peer a great blog like this one these days!